Because of internships I have slightly less projects in 2008 and 2009.
The projects which I made at my internships will be viewed after I finish posting about my school projects.
The second last assignment we got from school was the "Showcase" project; one of the projects I'm most proud of.
We had to choose a building to which we designed a showcase.
Offcourse I had to choose something extraordinary.
It got to be the Notre Dame:
We also had to pick a nice spot to place our showcase. After some browsing I got to this place:
It's a giant space so in my opinion the showcase needed to be big as well.
I wanted to design a walk in show case featuring some of Notre dame's famous characteristics like the window and gargoyles and such.
 |
| A small version of the notre dame |
 |
| A cross like showcase with arcs. |
 |
| A bit more traditional showcase with the arcs and the towers. |
In the end I ended up with a rectangular building with a giant window in front of it; it's the window shown at the side of the Notre Dame, but split in the middle. On top there's a roof with gargoyles and a "miniature" version of the rooftop shown from the side. In the middle of this rooftop there could be a statue placed.
The corned gargoyles would be fitted with spots to shine some extra light.
As an extra I wanted to have water flowing over the rooftop, because that's the main function of gargoyles; they're responsible for water drainage.
 |
| Final sketch. |
 |
| Sketch how I wanted the inside to look. |
Even though sketching takes a whole lot of time, another hard part was to make the required 3D drawing.
The school computers weren't strong enough to draw the final picture and crashed.
My laptop (which was bought with the intention to be stronger for these things) could do the drawing, but wasn't strong enough to render. To fix that I had to split the picture in 3 separate parts and stick them all together using paint.
 |
| A 3D drawing of a Gargoyle. |
 |
This is a Photoshopped image using the image
at which we wanted the showcase to be and a 3D drawing. |
It might be clear we never had to actually make this showcase in full scale. That would be madness. Instead we had to make a scale version.
This specific project took a lot of time and I used more spare hours than anyone else, but not without a result.
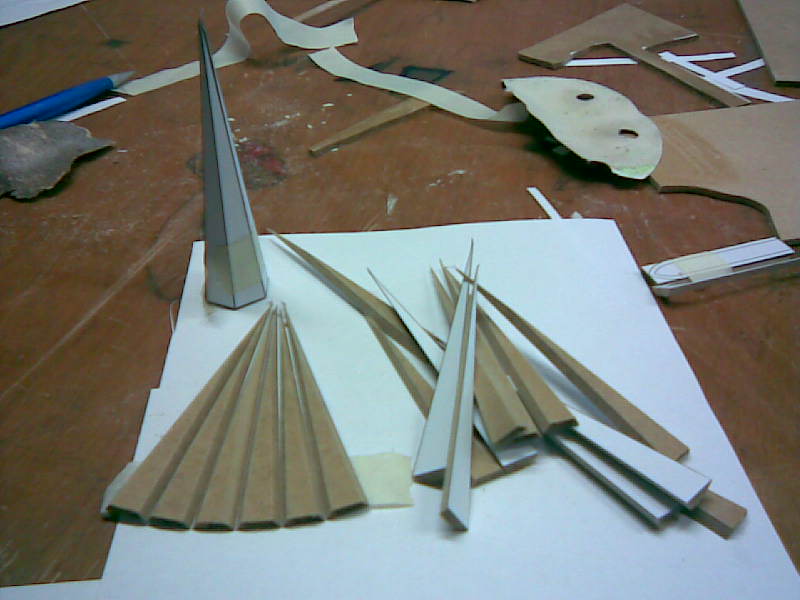
Here goes the building proces:
First I used AutoCAD to give me a right size drawing of the front window. This I glued to a plate of 3mm MDF
With a lot of patience I cut out the pieces using a fretsaw. The finished part was glued on another 3 mm MDF plate; giving the whole piece more relief. Again I spend some time behind the fretsaw.
 |
| The front window after all the sawing. |
 |
| Showcase base front side. |
 |
| The skeleton of the building in perspective. |
for the roofs I printed a pattern out and put some adhesive plastic over it to cover it. I was supposed to add water to it with a small aquarium pump, but I was too afraid this would damage the final product. MDF isn't well known to be water resistant even when several layers of varnish is applied.
 |
Finished scale model.
|


No comments:
Post a Comment